STEP3Design your plan in 3D View
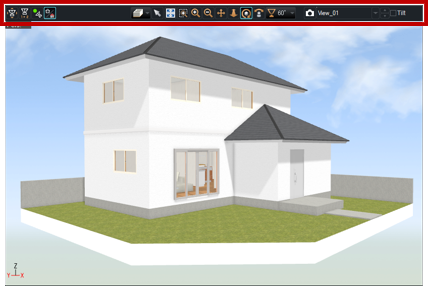
View 3D image
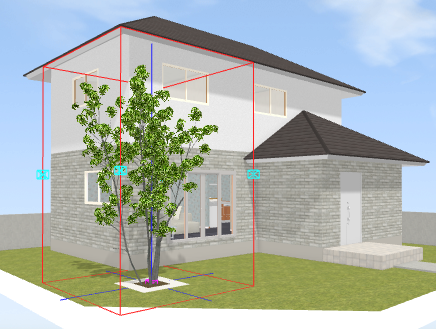
Click [3D View] and check your plan from different angles.
You can switch view with your cursor.
View Tools
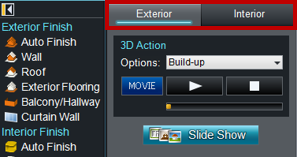
 Exterior
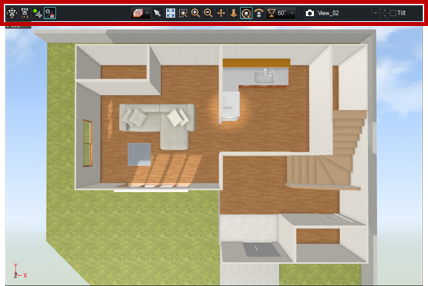 Interior
View Tools
Click a button and control the view with your cursor.
 Zoom In/Out
 Partial Zoom In
 Scroll
 Orbit
Orbit
 Zoom In/Out
 Pan
Pan Select Objects
 Drag the Camera
 Viewing Direction
 Change Viewing Direction
 Show Wall
 View All
 Telephoto/Wide (13 Angles)
 View Switch Interior/Exterior
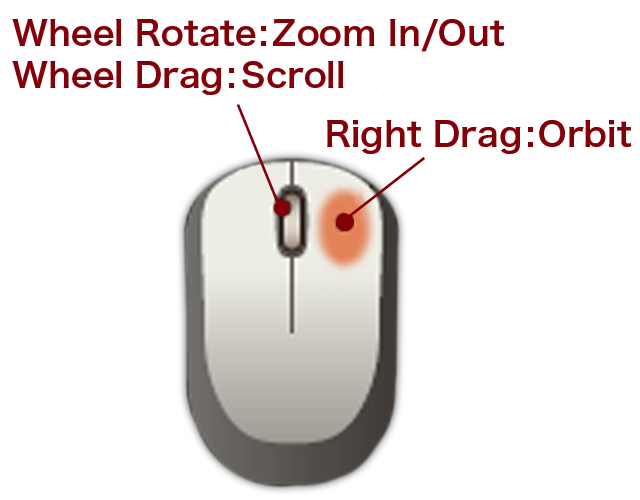 You can change view point by mouse operation.
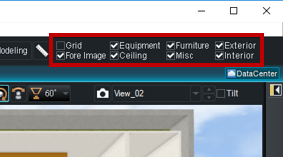 You can select what you want to show in your 3D View.
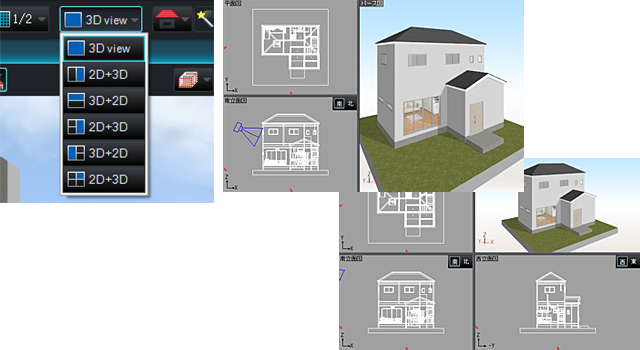
Split View lets you view a Floor Plan and a 3D View at the same time.
Change Wall paper and Flooring materials

Select Wall paper, Flooring, Ceiling and Exterior wall materials and apply to your plan.
-
Applying multiple materials a face of a wall.
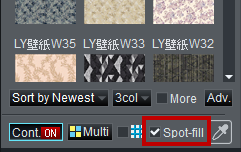
Check Spot-fill to apply a wall material a face of wall.
-
Cloud Materials
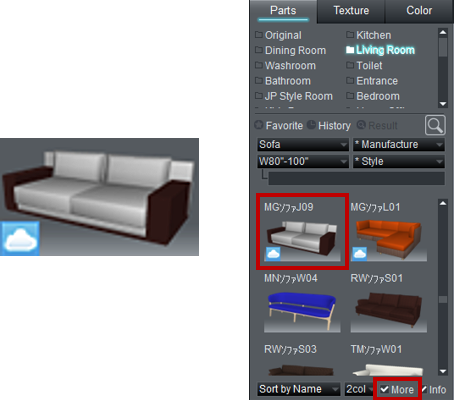
 Materials with a cloud mark, can be downloaded from Data Center.
To download cloud materials, you will need to register to Data Center and log-in.
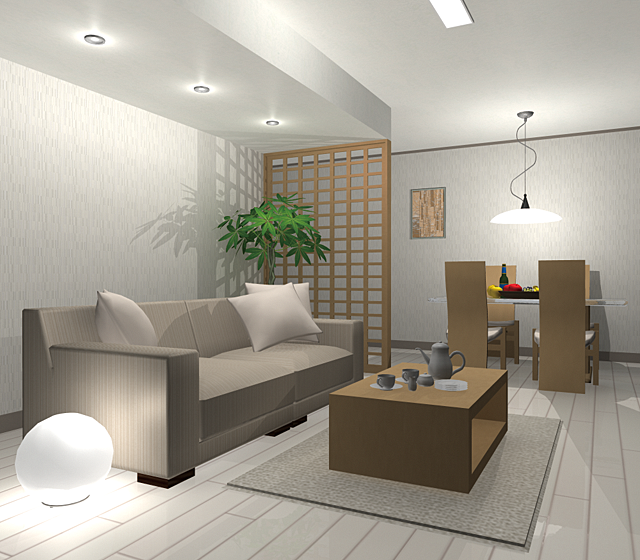
Decorate the interior with objects

Click "Interior", and decorate rooms with objects.
You can place an object on the table and hang paint on the walls.
Trees and Plants
Click "Exterior", and place trees and plants in the garden.
Final Touch
-
Background / Foreground image / Glare / Day Light Setting
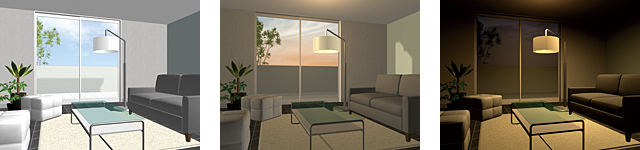
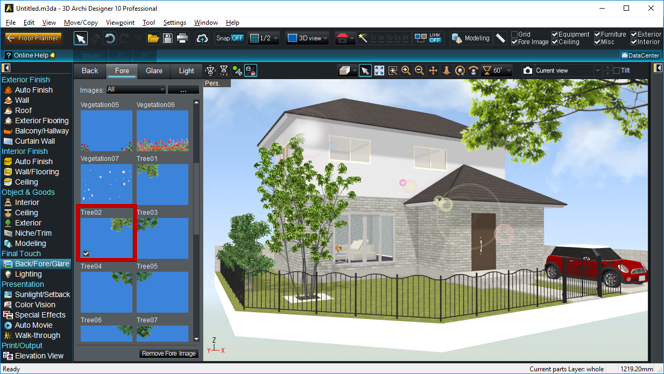
Click "Back/Fore/Glare".
Backgrond / Day Light can be set by one click.
You can place trees, plants and lens flare in Foreground. -
Lighting
Click "Lighting".
You can adjust the type and color of light for each lighting fixture. -
Perspective / Floor Plan / Elevation
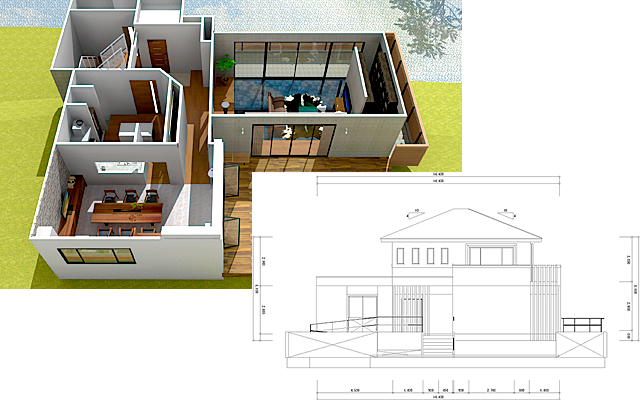
Click "Elevation View".
You can print / output elevation of your plan. -
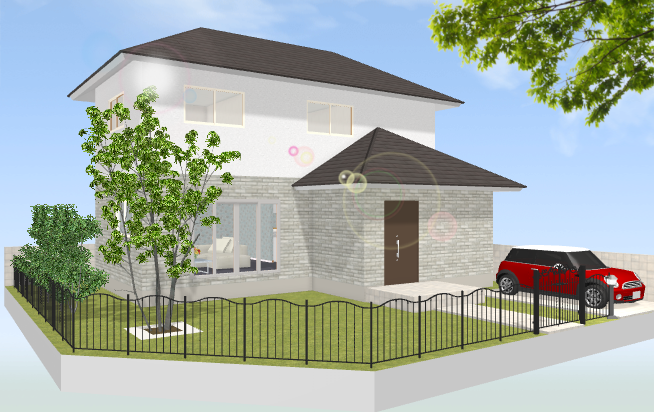
Hi-resolution Images

Click "Rendering".
You can export Hi-resolution image easily.
Done !
Save your plan
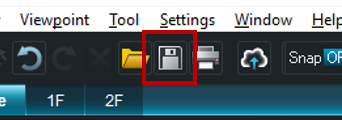
Don’t forget to save your plan.
Go to Tool Bar and click [Save].
Go back to Floor Planner
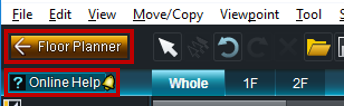
To modify your floor plan further, go back to "Floor Planner".
To get more information and support, click [Online Help].